
Sublime Text is a proprietary cross-platform versatile text and source code editor for web and software development. It is very fast and it comes with lots of powerful features out of the box.
This tutorial describes the steps to install Sublime Text 3 on Ubuntu 18.04 LTS Linux systems.
Prerequisites
Before continuing with this tutorial, make sure you are logged in as a user with sudo privileges.
Installing Sublime Text on Ubuntu
01- Update the apt package list and install the dependencies necessary to fetch packages from https sources:
$ sudo apt update
$ sudo apt install apt-transport-https ca-certificates curl software-properties-common
02- Import the repository’s GPG key using the following curl command:
$ curl -fsSL https://download.sublimetext.com/sublimehq-pub.gpg | sudo apt-key add -
03- Add the Sublime Text APT repository to your system’s software repository list by typing:
$ sudo add-apt-repository "deb https://download.sublimetext.com/ apt/stable/"
04- Once the repository is enabled, update apt sources and install Sublime Text 3 with the following commands:
$ sudo apt update
$ sudo apt install sublime-text
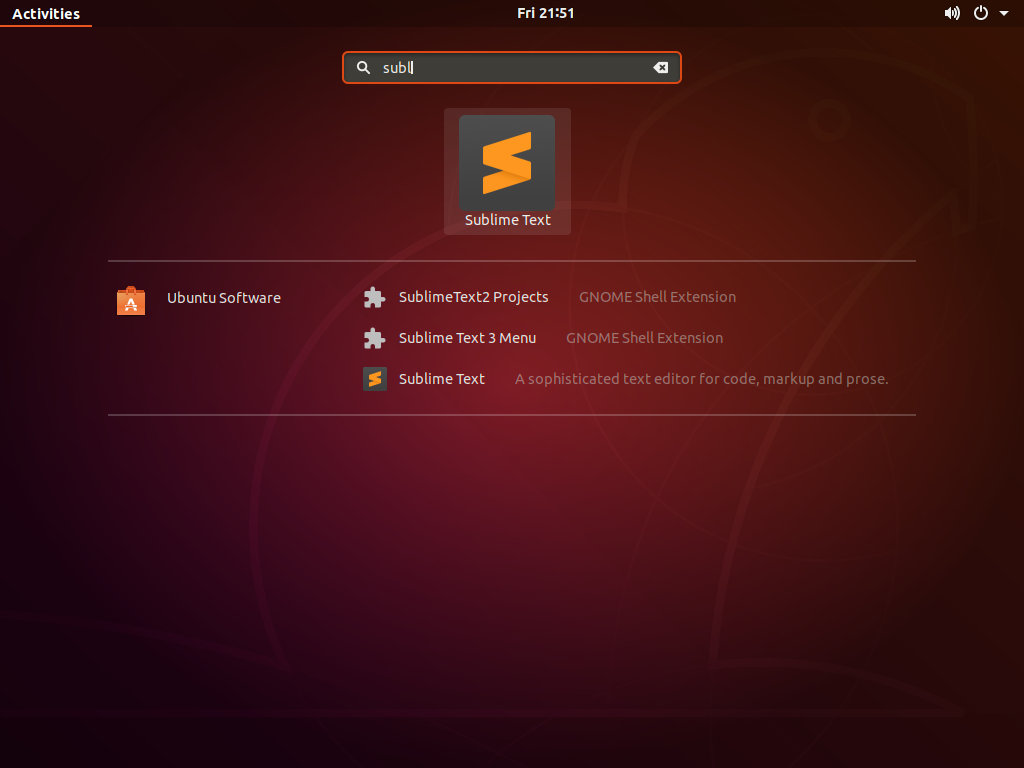
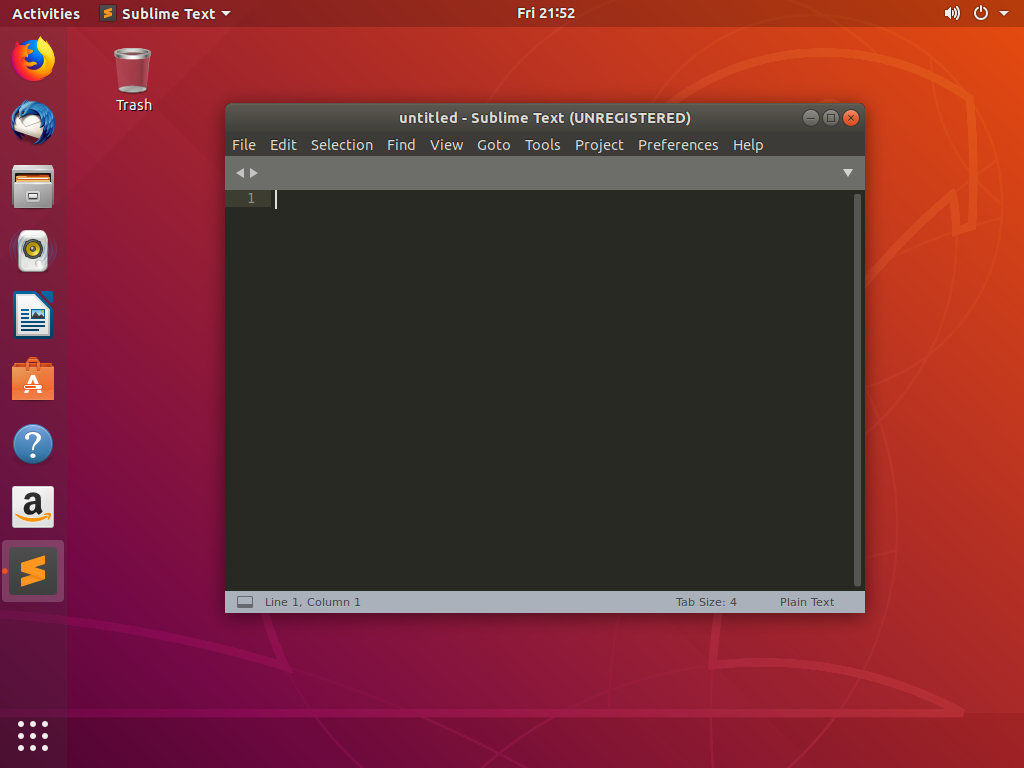
05- You can launch the Sublime Text editor either from the terminal by typing subl or by clicking on the Sublime icon from the menu Activities -> Sublime:
Conclusion
You have successfully installed Sublime Text on your Ubuntu 18.04 LTS server. To find more information about Sublime Text visit the official Sublime Text documentation page.
Read also:
- How To Install PostgreSQL 11 on Ubuntu 18.04 LTS Bionic Beaver
- How to Setup Skype on Ubuntu 18.04 LTS Bionic Beaver
- How to install MariaDB 10 Server on Ubuntu 18.04 LTS Bionic Beaver
- Build / Install Python 3.7 on Ubuntu 18.04 LTS Bionic Beaver
We hope this tutorial was enough Helpful. If you need more information, or have any questions, just comment below and we will be glad to assist you!
