Jenkins is an open source, Java-based automation server that offers an easy way to set up a continuous integration and continuous delivery (CI/CD) pipeline.
Continuous Integration (CI) is the process of automating the build and testing of code every time a team member commits changes to version control. Continuous Delivery (CD) is the process to build, test, configure and deploy from a build to a production environment.
This tutorial demonstrates the steps of installing Jenkins on a Ubuntu 18.04 LTS / Ubuntu 16.04 LTS systems. using the official Jenkins repository.
Prerequisites
Before continuing with this tutorial, make sure you are logged in as a user with sudo privileges.
Installing Jenkins
– Update the package index and install the Java 8 OpenJDK package with the following commands:
$ sudo apt update
$ sudo apt install openjdk-8-jdk
– Once the installation is completed, you can check the installed version using the following command:
$ java -version
– Import the GPG keys of the Jenkins repository using the following wget command:
$ wget -q -O - https://pkg.jenkins.io/debian/jenkins.io.key | sudo apt-key add -
– Add the Jenkins repository to the system like below:
$ sudo sh -c 'echo deb http://pkg.jenkins.io/debian-stable binary/ > /etc/apt/sources.list.d/jenkins.list'
– Once the Jenkins repository is enabled, update the apt package list and install the latest version of Jenkins by typing:
sudo apt update
sudo apt install jenkins
– Enable/ Start Jenkins at system boot with the following commands:
$ systemctl enable jenkins
$ systemctl start jenkins
Adjust the Firewall
Jenkins by default is listening on port 8080, Before accessing the Jenkins server, Use the following commands to open the necessary port:
$ sudo ufw allow 8080
Setting Up Jenkins
– Let’s now setup Jenkins, open your browser and type your domain or IP address followed by port 8080:
http://your_ip_or_domain:8080
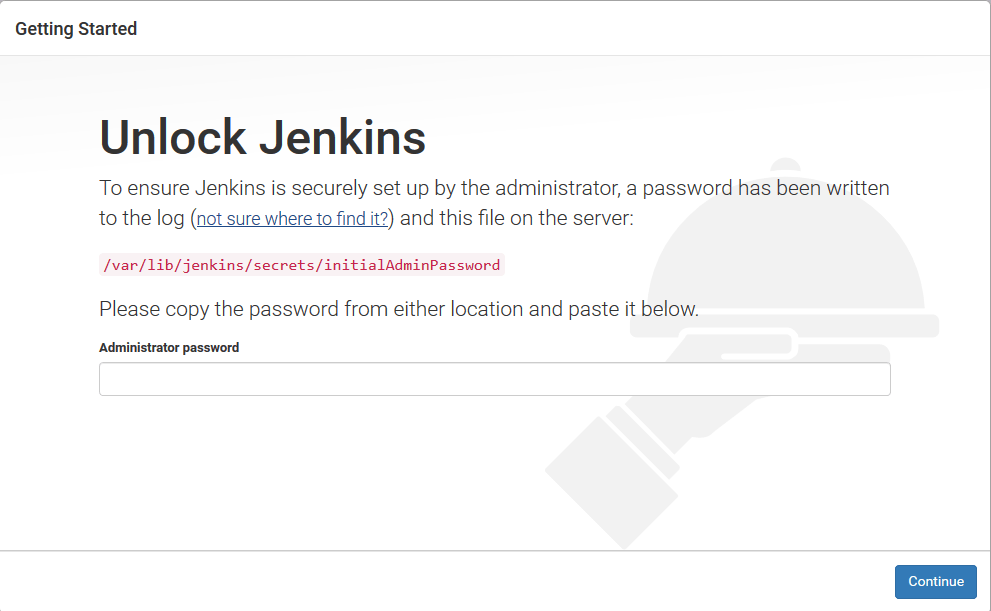
– Copy the password from your terminal, paste it into the Administrator password field and click Continue.
# sudo cat /var/lib/jenkins/secrets/initialAdminPassword
5896880025db4b99b80542df52eba7fc
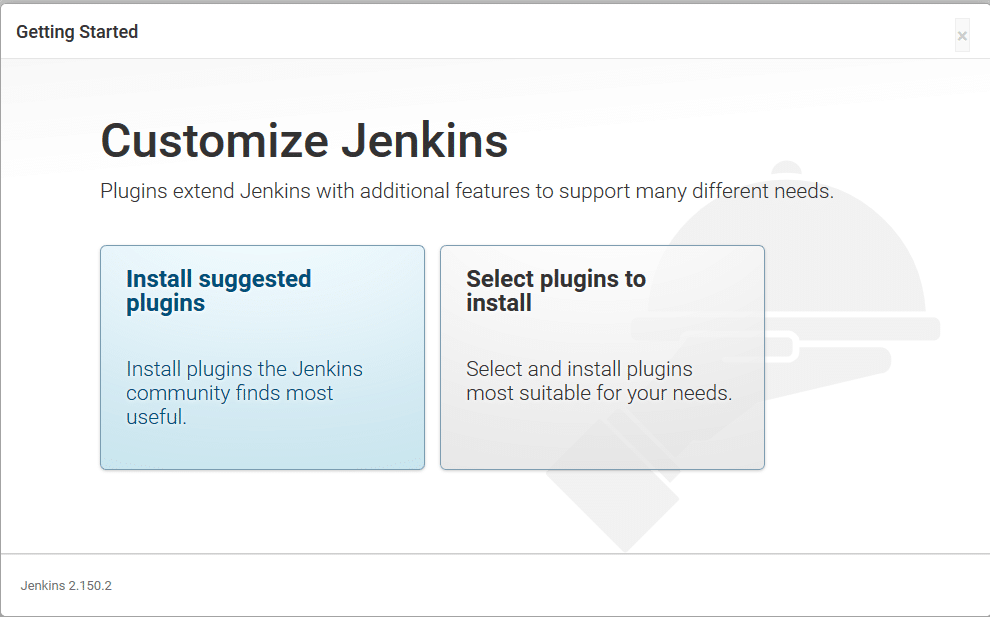
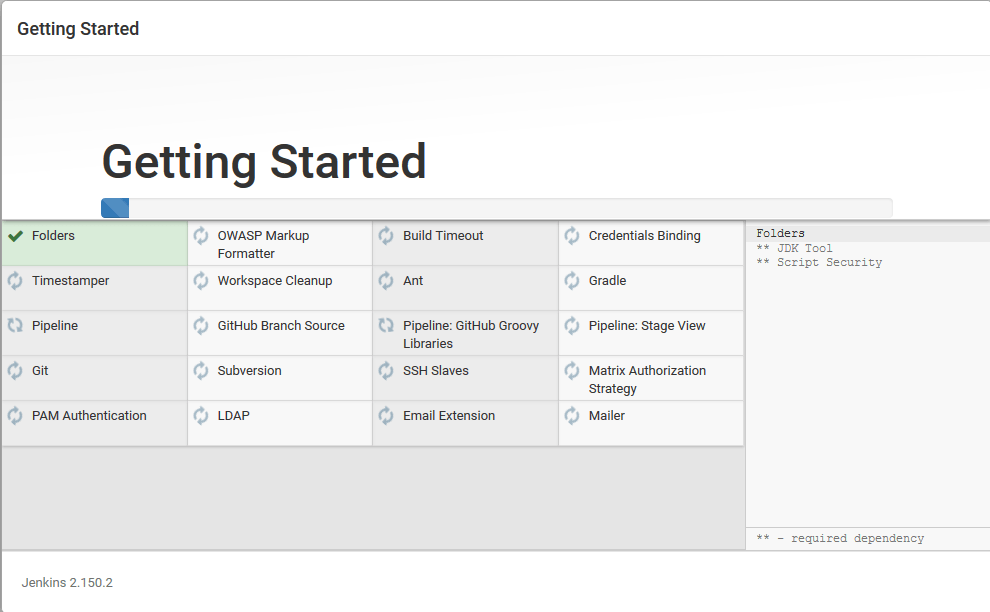
– Click on the Install suggested plugins box, and the installation process will start immediately as below:
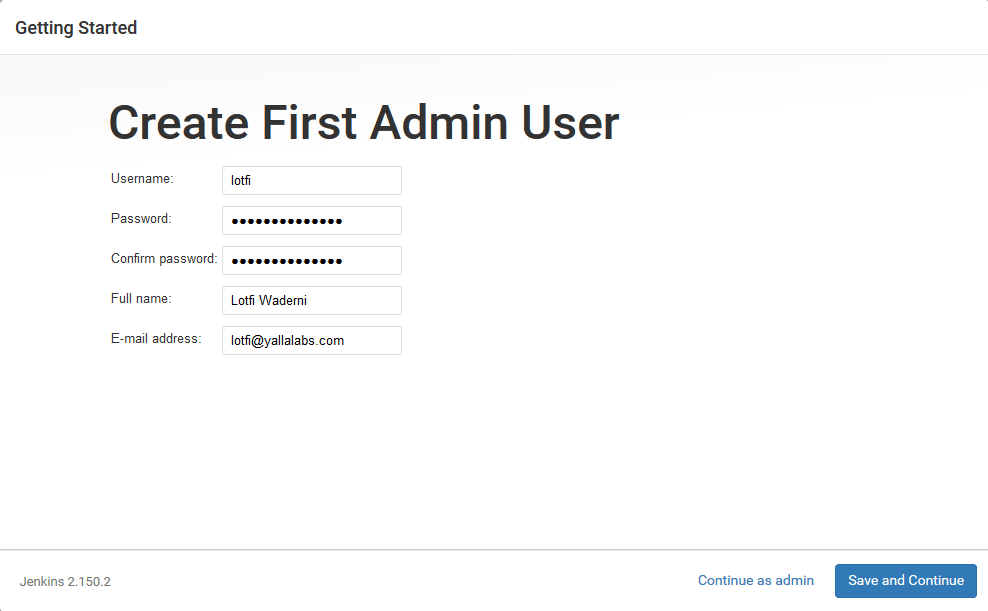
– Once the installation is complete, you will be prompted to set up the first administrative user. Fill out all required information and click Save and Continue.
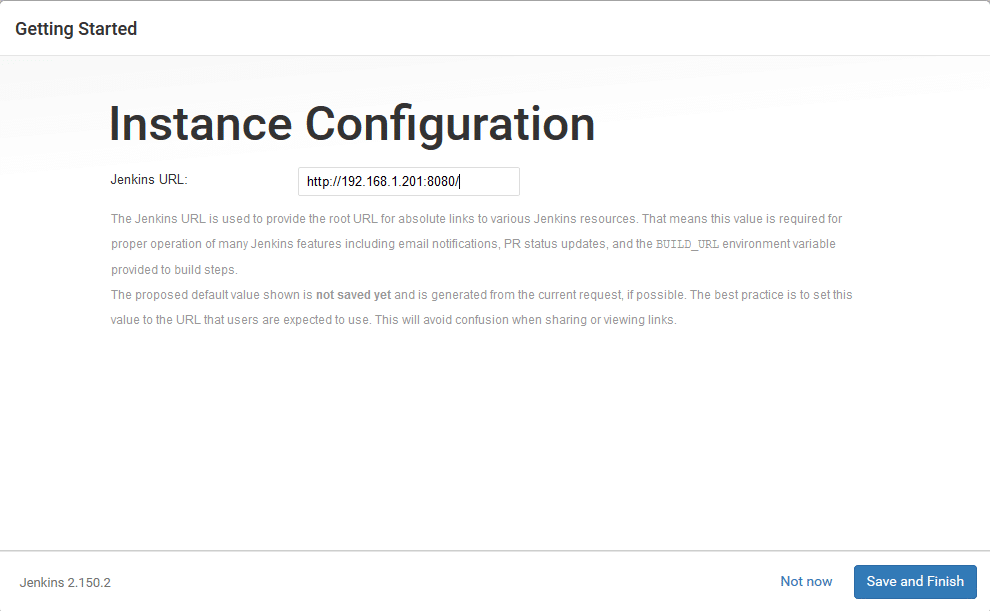
– On the next page you will be asked to set the URL for the Jenkins instance. The URL filed will be populated with an automatically generated URL . To complete the setup confirm the URL by clicking on the Save and Finish button.
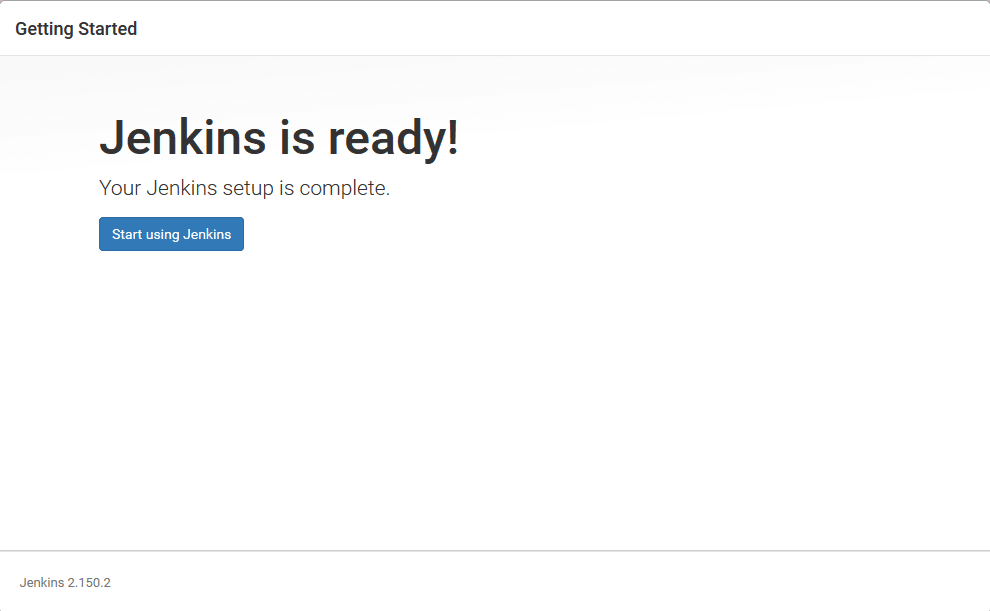
– Finally, click on the Start using Jenkins button and you will be redirected to the Jenkins dashboard logged in as the admin user you have created in one of the previous steps.
Conclusion
In this tutorial, you have learned how to install and complete the initial configuration of Jenkins on Ubuntu 18.04 LTS / Ubuntu 16.04 LTS systems. You might want to check the following guides:
- How to install Apache Maven on Ubuntu 18 / Ubuntu 16
- How to install Gradle on Ubuntu 18.04 / Ubuntu 16.04
- Add a new Slave Node to Jenkins
We hope this tutorial was enough Helpful. If you need more information, or have any questions, just comment below and we will be glad to assist you!


