About Zabbix
Zabbix is a free and open source network monitoring Software tool which is used to monitor and track the availability and performance of your IT infrastracture: servers, network devices and other IT assets.
In this article we will install Zabbix 3.2 on Ubuntu 16.04 LTS, in order to use Zabbix we required a Web Server (Apache), database server(Mysql, Mariadb, Postgresql …) and PHP to work.
Environment:
- Hostname = zabbix.yallalabs.com
- IP Address = 192.168.1.201
- OS = Ubuntu 16.04 LTS
Before we begin, note that I have installed lamp stack, if you didn’t install it take a look at this tuttorial : How To Install LAMP Stack (Linux, Apache, MySQL, PHP 7) On Ubuntu 16.04
Step 1 – Install Zabbix Server with MySQL
Before starting the installation we need to download the zabbix repository using this commands:
root@zabbix:~# wget http://repo.zabbix.com/zabbix/3.2/ubuntu/pool/main/z/zabbix-release/zabbix-release_3.2-1+xenial_all.deb
root@zabbix:~# dpkg -i zabbix-release_3.2-1+xenial_all.deb
Now use the below command to install Zabbix and necessary packages
root@zabbix:~# apt-get update
root@zabbix:~# apt-get install zabbix-server-mysql zabbix-frontend-php zabbix-agent zabbix-get zabbix-sender snmp snmpd snmp-mibs-downloader php7.0-bcmath php7.0-xml php7.0-mbstring
Step 2 – Edit PHP timezone
Open the file /etc/zabbix/apache.conf created by Zabbix with your favourite editer
root@zabbix:~# cd /etc/zabbix/
root@web01:/etc/zabbix# vi apache.conf
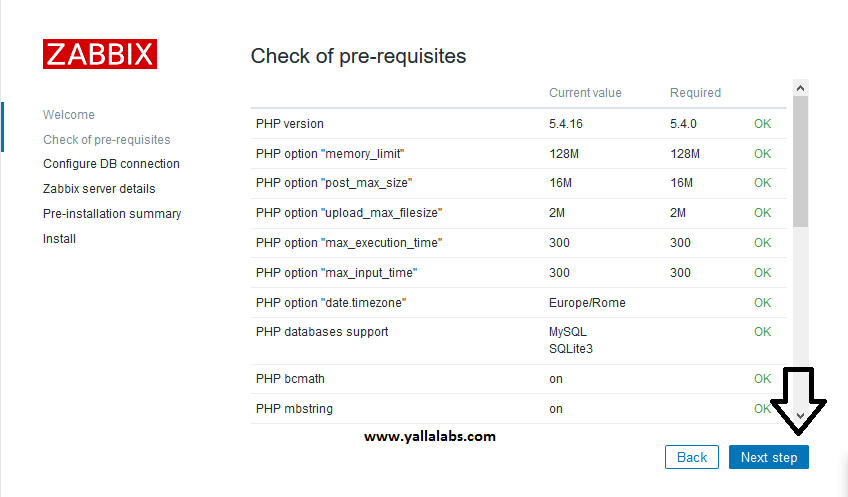
It’s necessary to uncomment the “date.timezone” setting and set the right timezone for you.
php_value date.timezone Europe/Rome
Save the file and don’t forget to reload the apache2 service using the below command
root@web01:/etc/zabbix# systemctl reload apache2
Step 3 – Edit create and import initial zabbix database and user
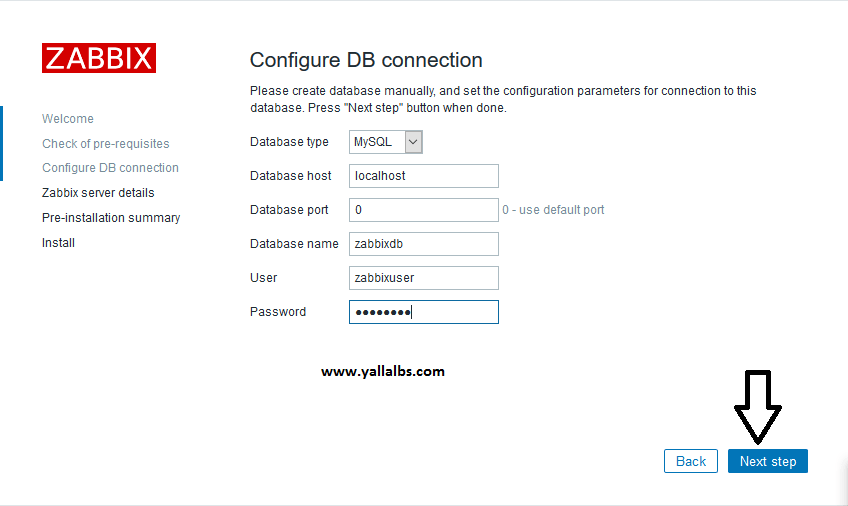
First we need to create zabbix database (zabbixdb) and create a zabbix user (zabbixuser).
root@zabbix:~# mysql -u root -p
Enter password:
Welcome to the MySQL monitor.  Commands end with ; or \g.
Your MySQL connection id is 5
Server version: 5.7.17-0ubuntu0.16.04.1 (Ubuntu)

Copyright (c) 2000, 2016, Oracle and/or its affiliates. All rights reserved.

Oracle is a registered trademark of Oracle Corporation and/or its
affiliates. Other names may be trademarks of their respective
owners.

Type 'help;' or '\h' for help. Type '\c' to clear the current input statement.

mysql> create database zabbixdb character set utf8 collate utf8_bin;
Query OK, 1 row affected (0.08 sec)

mysql> grant all privileges on zabbixdb.* to zabbixuser@localhost identified by 'Password';
Query OK, 0 rows affected, 1 warning (0.06 sec)

mysql> flush privileges;
Query OK, 0 rows affected (0.00 sec)

mysql> quit
Bye

root@zabbix:~#
After creating the zabbix database and user we need to import the zabbix initial database using the below commands
root@zabbix:~# cd /usr/share/doc/zabbix-server-mysql/
root@zabbix:/usr/share/doc/zabbix-server-mysql# zcat create.sql.gz | mysql -u root -p zabbixdb
Now we need to edit database configuration in in zabbix_server.conf file
[root@zabbix ~]# vi /etc/zabbix/zabbix_server.conf
Specify the zabbix database name, zabbix user name and the password
DBHost=localhost
DBName=zabbixdb
DBUser=zabbixuser
DBPassword=Password
After importing the zabbix database we need to enable and start zabbix service on boot using the bellow commands
[root@zabbix ~]# systemctl enable zabbix-server && systemctl start zabbix-server
[root@zabbix ~]# systemctl enable zabbix-agent && systemctl start zabbix-agent
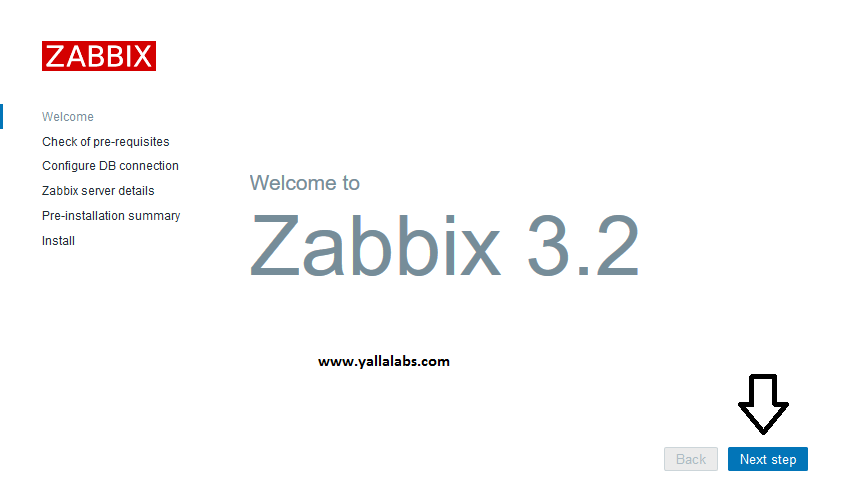
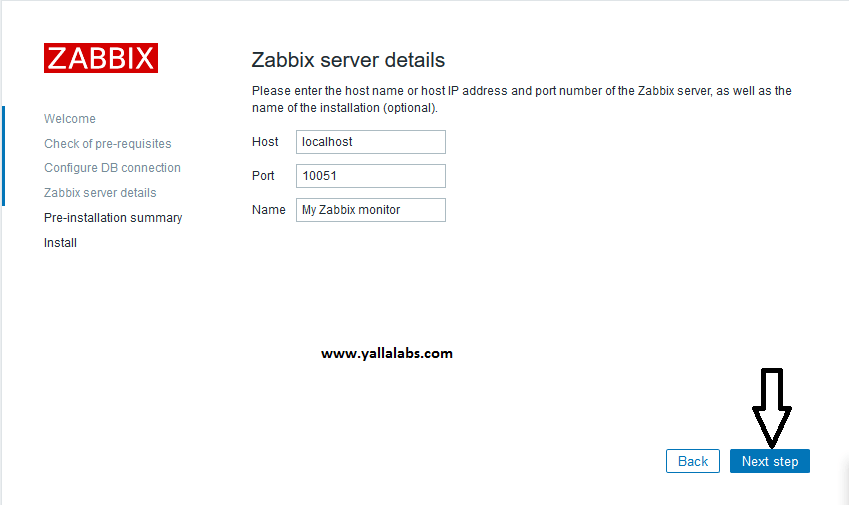
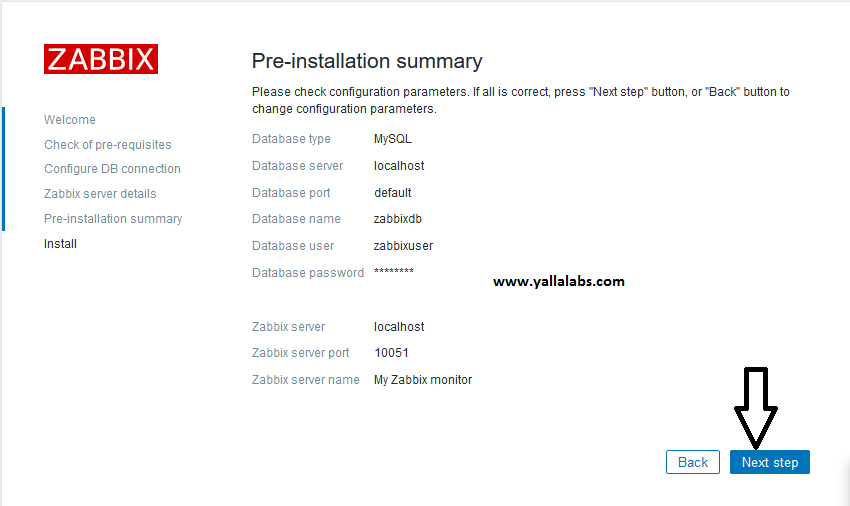
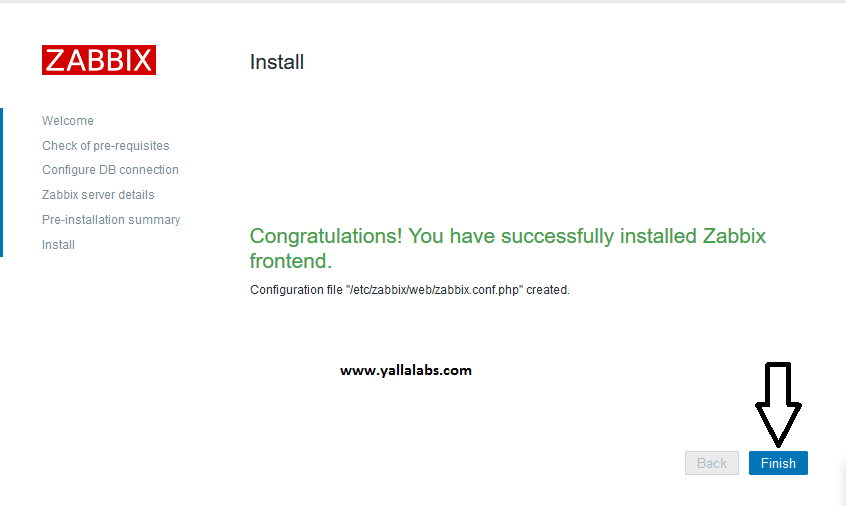
Step 4 – Configure Zabbix via Web console
Navigate to http://ip_address/zabbix or http://host_name/zabbix
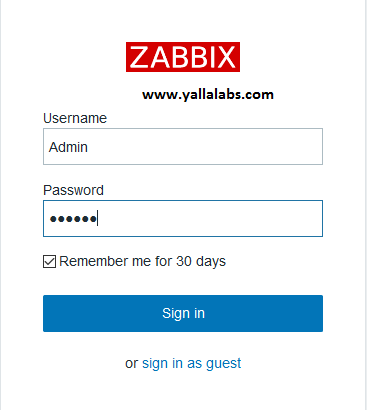
Now you’ll be redirected to the zabbix web console page. Enter the default username and password Admin/zabbix.
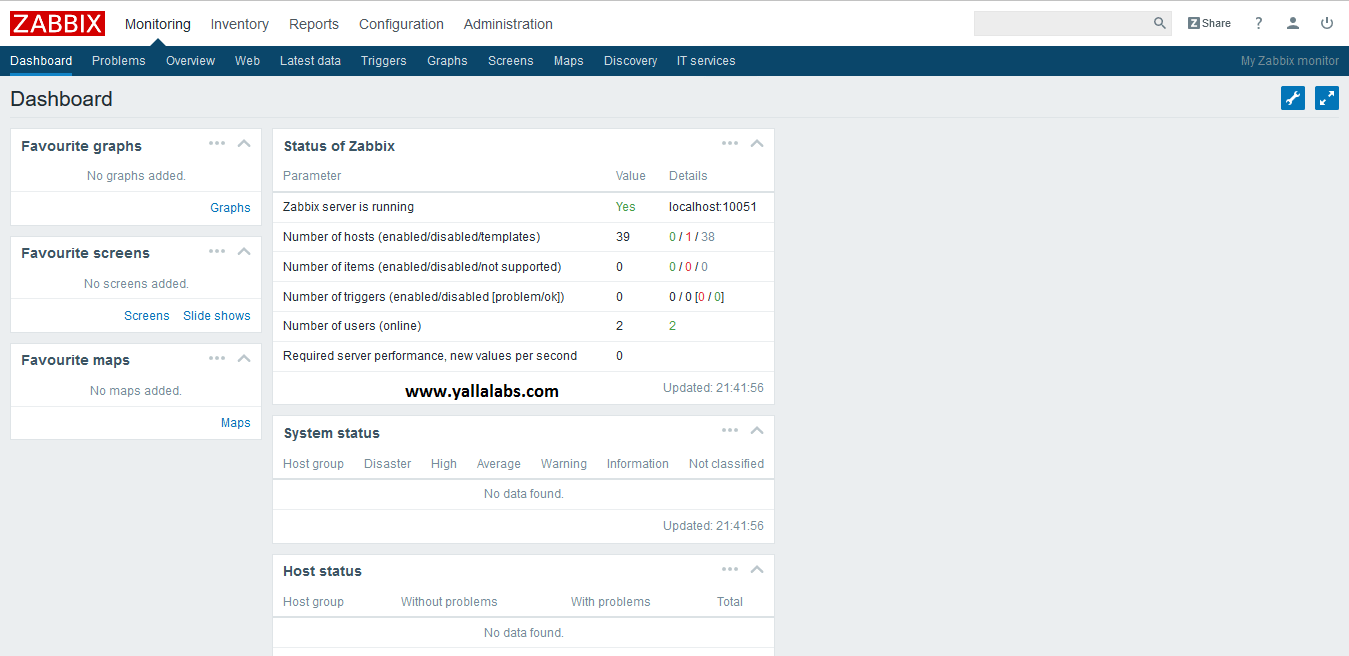
Last thing to do is to enable your server zabbix to be monitored: go to Configuration -> Hosts. Select the host (zabbix server) and click “Disabled”

We hope this tutorial was enough Helpful. If you need more information, or have any questions, just comment below and we will be glad to assist you!
PS. If you like this post please share it with your friends on the social networks using the buttons below.Thanks.


11 comments
Thank you so much, after trying to figure this out after two days I found your manual and it worked perfect. It’s definetely a lot more complete than other manuals online. Definetely going to use your recources in the near future.
Thanks again!
Maikel
Great guide. Worked brilliantly.
Thank you very much for this! It was extremely helpful.
In my case, the service of zabbix just won’t start. Can you help me ?
Hi Tony,
Did you check the log file to understand why the service doesn’t want to start ? You can use the journalctl command .
Let us know aboit the errors .
Thanks.
Hi Lotfi,
The service is can be started now after restarting my machine.
But, the problem now i have a 403 Forbidden warning when i want to access the web console.
I have set the firewall to allow Apache.
Appreciated any kind of suggestion on what is wrong with my zabbix installation.
Thanks.
*update
The web console can be accessed now. But, unlike in your screenshot, the Server Status is displayed Zabbix Server is running valued no instead of yes. I follow up every step of your explanation, or is there something wrong with my setup ?
I setup Zabbix on Ubuntu 16.04 LTS, on VMware as a virtual machine test server.
HI Tony,
You have to open the port 10051 tcp/udp to make it works and don’t forget to restart zabbix server deamon .
Let us know if you fix the problem.
Good luck.
Hi Lotfi,
Thank you for always answering my questions.
I want to ask about another problem. I’m stuck at the database set up, it shows ‘The frontend does not match Zabbix database’ warning.
What could be the problem ?
Thanks
Hi Tony,
To resolve this problem you have to delete the existing zabbix database in your sql/mariadb server and recreate it again folowing the step number 3 : create and import initial zabbix database
Hello Lofti,
This tutorial has been of great help for me. It helped me to install zabbix from scratch on an ubuntu server for testing purposes.