Zoom is an easy to use communication platform that unifies cloud video conferencing, real-time messaging, and content sharing. With Zoom, you can host webinars, organize online meetings, and create conference rooms.
This guide explains how to install Zoom on Ubuntu 20.04 LTS. The same instructions apply for all Debian based distribution like Linux Mint.
Installing Zoom on Ubuntu
Zoom is not an open-source application, and it is not included in the Ubuntu repositories. We’ll install Zoom from their APT repositories. However, perform the following steps as root or user with
sudo privileges to install Zoom on your Ubuntu machine:
01- Open your terminal and enter the following wget command to download the latest Zoom deb package:
$ wget https://zoom.us/client/latest/zoom_amd64.deb
02- Once the download is complete, install Zoom by running the following command as a user with sudo privileges:
sudo apt install ./zoom_amd64.deb
03- Zoom can be launched from the command line by typing zoom or by clicking on the Zoom icon from Applications -> Internet -> zoom.
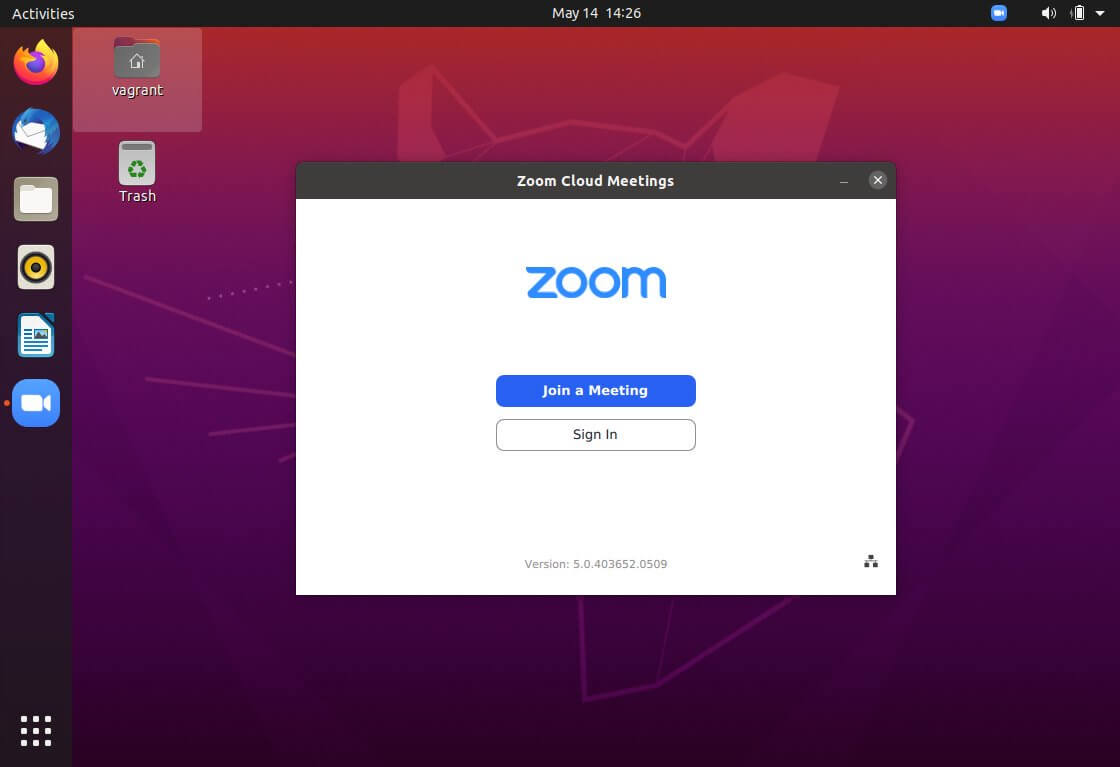
When you start zoom for the first time, a window like the following will appear:

04- From here, you can sign in with your Zoom account and start a video conference or you can host webinars.
Uninstalling Zoom on Ubuntu
If for some reason you want to uninstall Zoom, open your terminal and run the following command:
$ sudo apt remove zoom
Conclusion
That’s it! you have learned to install the latest version of Zoom on your Ubuntu 20.04 LTS macchine. You might want to check the following guides:


1 comment
Thanks, great article.