About Zabbix
Zabbix is a free and open source network monitoring Software tool which is used to monitor and track the availability and performance of your IT infrastracture: servers, network devices and other IT assets.
In this article we will install Zabbix Server 4.x on Ubuntu 18.04 LTS, in order to use Zabbix we required a Web Server (Apache), database server(Mysql, Mariadb, Postgresql …) and PHP to work.
If you want to upgrade your Zabbix Server 3.x to 4.x on Ubuntu 16.04 LTS or Ubuntu 18.04 LTS you can check this article: How to Upgrade Zabbix Server 3.x to 4.x on Ubuntu 16.04 LTS or Ubuntu 18.04 LTS
Step 0 – Install Prerequisites
– A lot of packages we might need are not available, to avoid any issues while processing the installtion of zabbix Server we need to modify the sources.list file as below:
~# vi /etc/apt/sources.list
deb http://archive.ubuntu.com/ubuntu bionic main universe
deb http://archive.ubuntu.com/ubuntu bionic-security main universe
deb http://archive.ubuntu.com/ubuntu bionic-updates main universe
– Zabbix server require a Apache2, some PHP packages and Mysql/Mariadb, execute the following commands:
~# apt update
~# apt install apache2 libapache2-mod-php
~# apt install php php-pear php-cgi php-common libapache2-mod-php php-mbstring php-net-socket php-gd php-xml-util php-mysql php-gettext php-bcmath
~# apt install mariadb-server
– Start and Enable Apache2 and Mariadb Server to run on boot system:
~# systemctl enable apache2 && systemctl start apache2
~# systemctl enable mariadb && systemctl start mariadb
– Don’t forget to set a password for the root using mysql_secure_installtion, take a look to this tutorial: Securing MySQL server / Mariadb with mysql_secure_installation
Step 1 – Install Zabbix Server with MySQL
– Before starting the installation we need to install the zabbix repository using this below commands:
~# wget https://repo.zabbix.com/zabbix/4.0/ubuntu/pool/main/z/zabbix-release/zabbix-release_4.0-2+bionic_all.deb
~# dpkg -i zabbix-release_4.0-2+bionic_all.deb
– Now use the following command to install Zabbix and necessary packages
~# apt update
~# apt install zabbix-server-mysql zabbix-frontend-php zabbix-agent zabbix-get
Step 2 – Edit PHP timezone
– Open the file /etc/zabbix/apache.conf created by Zabbix with your favourite editer
~# vi /etc/zabbix/apache.conf
– It’s necessary to uncomment the “date.timezone” setting and set the right timezone.
php_value date.timezone Europe/Rome
– It’s necessary also to set your right timezone in the php.ini file
~# vi /etc/php/7*/apache2/php.ini
[...]
date.timezone = Europe/Rome
[...]
– Save the file and don’t forget to reload the apache2 service using the below command:
~# systemctl reload apache2
Step 3 – Create and import initial zabbix database and user
– First we need to create zabbix database (zabbixdb) and create a zabbix user (zabbixuser).
~# mysql -u root -p
Enter password:
Welcome to the MariaDB monitor.  Commands end with ; or \g.
Your MariaDB connection id is 49
Server version: 10.1.34-MariaDB-0ubuntu0.18.04.1 Ubuntu 18.04

Copyright (c) 2000, 2018, Oracle, MariaDB Corporation Ab and others.

Type 'help;' or '\h' for help. Type '\c' to clear the current input statement.

MariaDB [(none)]> create database zabbixdb character set utf8 collate utf8_bin;
Query OK, 1 row affected (0.00 sec)

MariaDB [(none)]> grant all privileges on zabbixdb.* to zabbixuser@localhost identified by 'Password';
Query OK, 0 rows affected (0.01 sec)

MariaDB [(none)]> flush privileges;
Query OK, 0 rows affected (0.00 sec)

MariaDB [(none)]> exit;
Bye
– After creating the zabbix Server database and user we need to import the zabbix Server initial database using the below command:
~# zcat /usr/share/doc/zabbix-server-mysql/create.sql.gz | mysql -u zabbixuser -p zabbixdb
Enter password:
– Now open the /etc/zabbix/zabbix_server.conf file and specify the zabbix database name, zabbix user name and the password like below:
DBHost=localhost
DBName=zabbixdb
DBUser=zabbixuser
DBPassword=Password
– After configuring the database connection, we need to enable and start zabbix-server service and zabbix-agent service on boot using the bellow commands:
~# systemctl enable zabbix-server && systemctl start zabbix-server
~# systemctl enable zabbix-agent && systemctl start zabbix-agent
Step 4 – Adjusting Firewall
– Execute the following command to enable http service and connection between the Zabbix server and agents
~# ufw allow http
~# ufw allow proto tcp from any to any port 10050,10051
~# ufw reload
Step 5 – Configure Zabbix Frontend
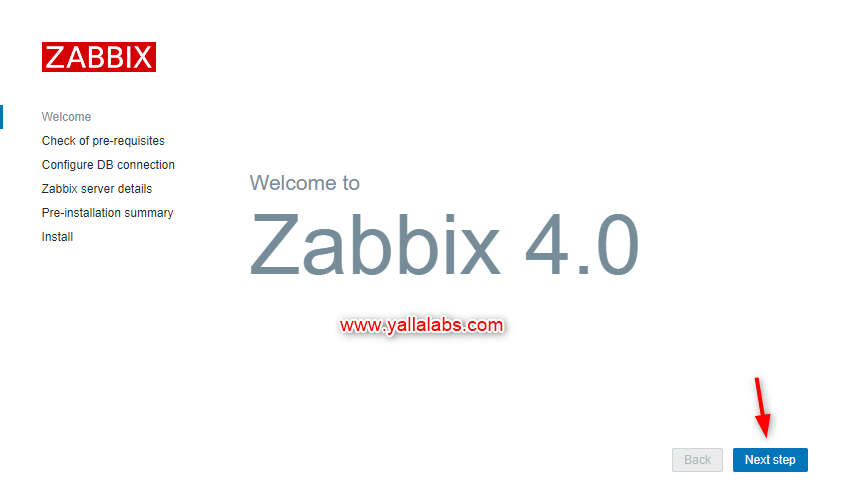
– Navigate to http://ip_address/zabbix or http://host_name/zabbix
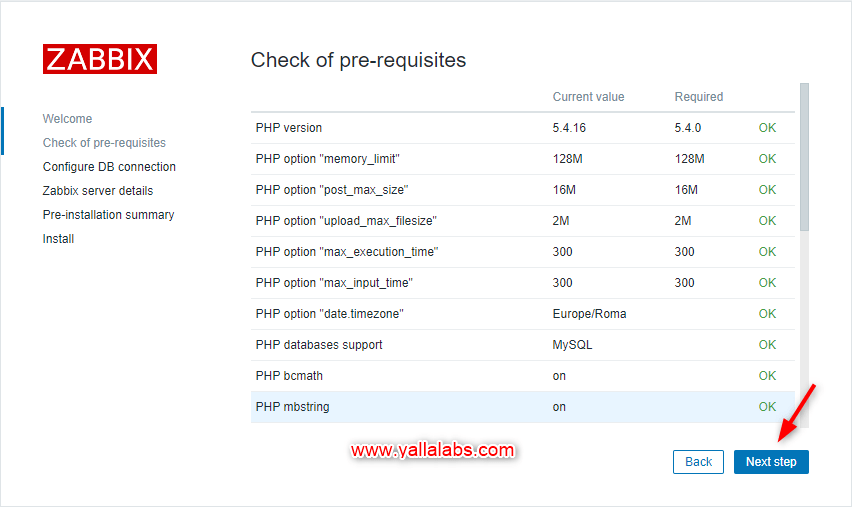
– Make sure that all software prerequisites are met.
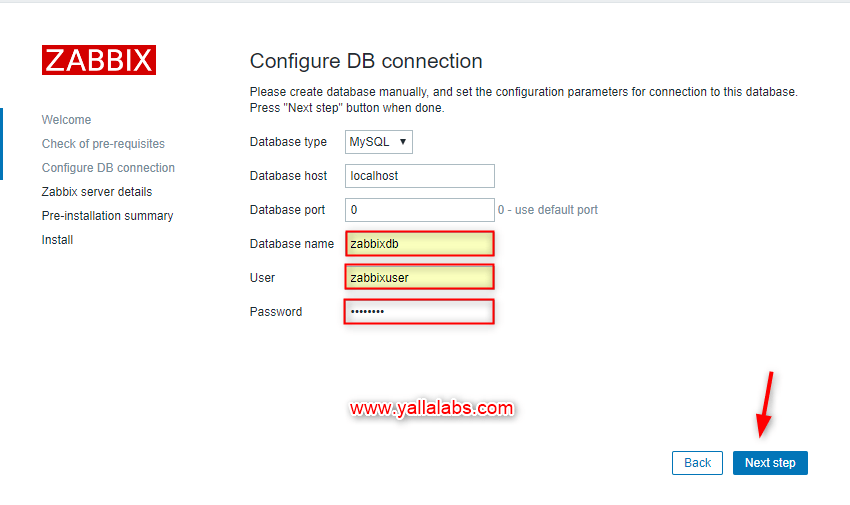
– Enter details for connecting to the database. Zabbix database must already be created.
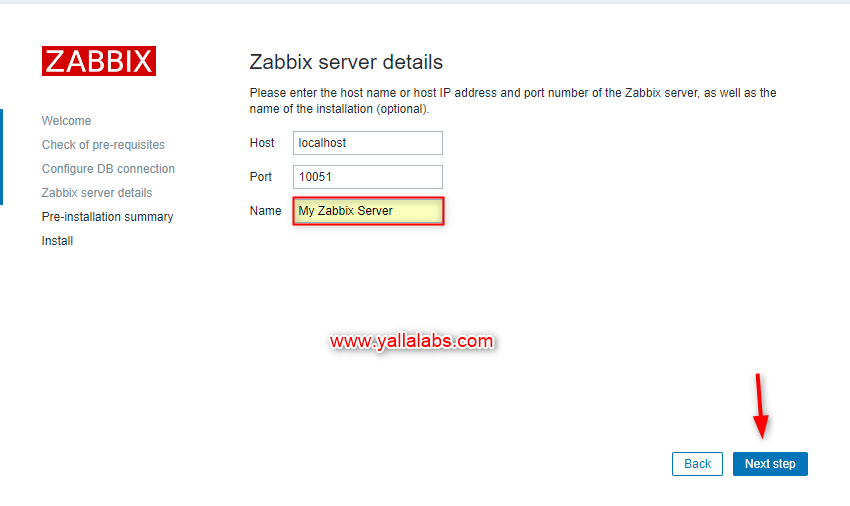
– Enter Zabbix server details.
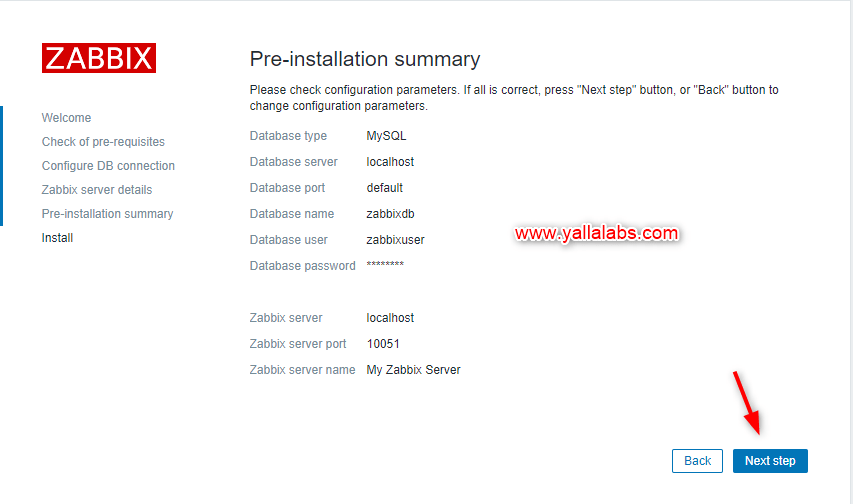
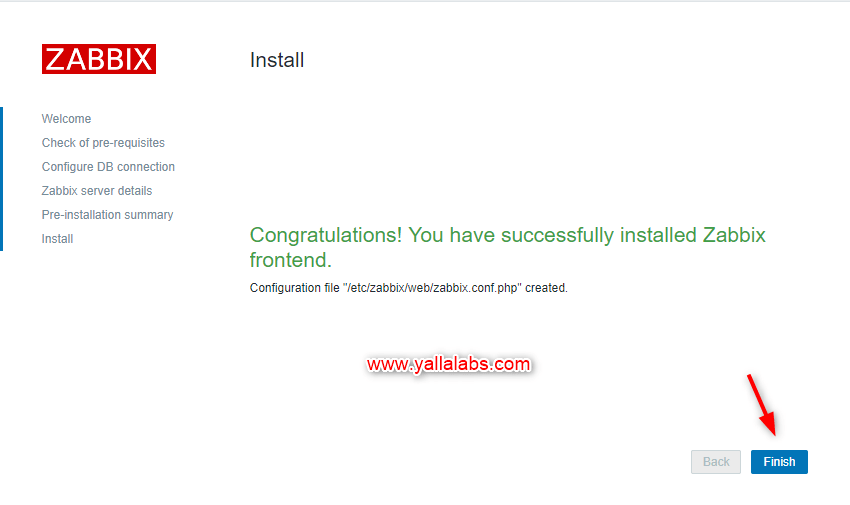
– Review a summary of settings.
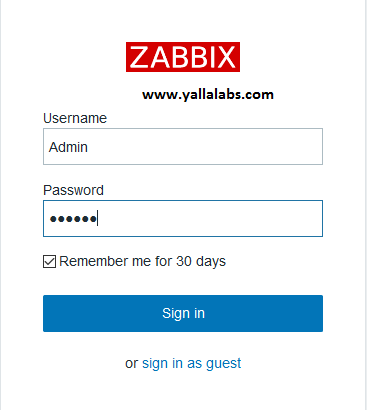
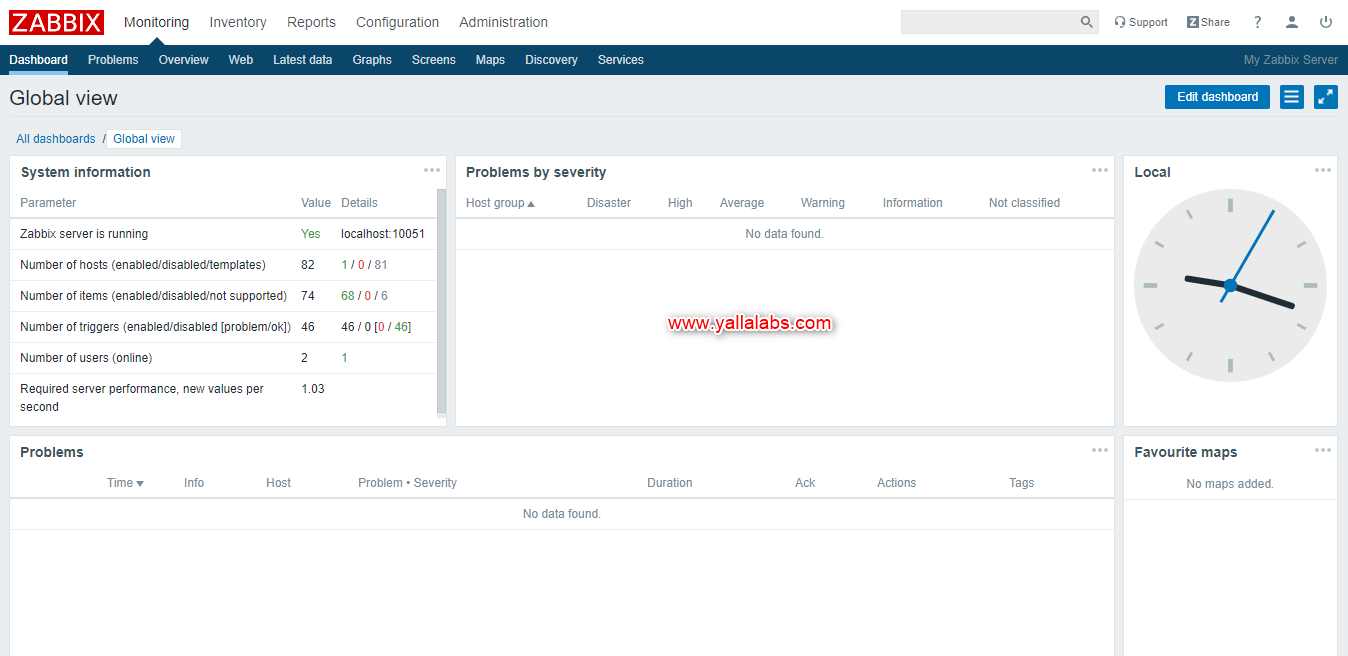
– Now you’ll be redirected to the zabbix web console page. The default user name is Admin and the password is zabbix .
We hope this tutorial was enough Helpful. If you need more information, or have any questions, just comment below and we will be glad to assist you!



7 comments
Hi How to enable zabbix with https?
Hi,
check this link https://www.zabbix.com/documentation/3.0/manual/installation/requirements/best_practices
Hello. Thanks for this tutorial. I’ve lirned too much. I follow every stape to install zabbix 4 with my ubuntu server (18.04) but it’s still an issue at the end and I don’t know why. there is no value for the zabbix server parameter and I’m receiving this message : zabbix server is not running: the information displayed may not be current. Is there a way to solve this please? thanks
Hi,
Make sure to start the zabbix agent and there’s nothing blocking the connection to the zabbix database.
Hi,
Thanks for sharing these materials with us. Currently i using Zabbix version 3.21 with ubuntu 16.04. I would like to do a fresh install on unbuntu 18.04 and restore existing database, config files and template on the new zabbix version 4.0 LTS. plse advise if it is feasible and what is the best way to proceed.
Thanks again.
Rgds
WizeMindz
Hi,
01- Take a backup of your database and of the binary files in indise the following directories
/etc/zabbix/,/etc/apache2/conf-enabled/,/usr/share/zabbix/and/usr/share/doc/zabbix-*.– Fresh install of the new version of zabbix server
– Restore from backup, it’s advisable to reconfigure manually the
zabbix_server.conffile you can use thedifftool to check the differences.Good Luck.
Nice one Lotfi,
I’ve had numerous failed attempts at installing Zabbix (with PostgreSQL DB), so gave this a go from a fresh Ubuntu install and went much better!
Much appreciated