About Zabbix
Zabbix is a free and open source network monitoring Software tool which is used to monitor and track the availability and performance of your IT infrastracture: servers, network devices and other IT assets.
In this article we will install Zabbix 3.4 on Ubuntu 16.04 LTS, in order to use Zabbix it’s required a Web Server (Apache), database server(Mysql, Mariadb, Postgresql …) and PHP to work.
Environment:
- Hostname = zabbix.yallalabs.com
- IP Address = 192.168.1.200
- OS = Ubuntu 16.04 LTS
– Before we begin, note that I have installed lamp stack, if you didn’t install it take a look at this tuttorial : How To Install LAMP Stack (Linux, Apache, MySQL, PHP 7) On Ubuntu 16.04
Step 1 – Install Zabbix Server with MySQL
– Before starting the installation we need to download the zabbix repository using this commands:
root@zabbix:~# wget http://repo.zabbix.com/zabbix/3.4/ubuntu/pool/main/z/zabbix-release/zabbix-release_3.4-1+xenial_all.deb
root@zabbix:~# dpkg -i zabbix-release_3.4-1+xenial_all.deb
– Now use the below command to install Zabbix and necessary packages
root@zabbix:~# apt-get update
root@zabbix:~# apt-get install zabbix-server-mysql zabbix-frontend-php zabbix-agent zabbix-get zabbix-sender snmp snmpd snmp-mibs-downloader php7.0-bcmath php7.0-xml php7.0-mbstring
Step 2 – Edit PHP timezone
– Open the file /etc/zabbix/apache.conf created by Zabbix with your favourite editer
root@zabbix:~# cd /etc/zabbix/
root@zabbix:/etc/zabbix# vi apache.conf
– It’s necessary to uncomment the “date.timezone” setting and set the right timezone.
php_value date.timezone Europe/Rome
– Open the file php.ini, uncomment the “date.timezone” setting and set the right timezone
root@zabbix:~# vi /etc/php/7.0/apache2/php.ini
[...]
date.timezone = Europe/Rome
[...]
– Save the file and don’t forget to reload the apache2 service using the below command
root@zabbix:/etc/zabbix# systemctl reload apache2
Step 3 – Edit create and import initial zabbix database and user
– First we need to create zabbix database (zabbixdb) and create a zabbix user (zabbixuser).
root@zabbix:~# mysql -u root -p
Enter password:
Welcome to the MySQL monitor.  Commands end with ; or \g.
Your MySQL connection id is 5
Server version: 5.7.17-0ubuntu0.16.04.1 (Ubuntu)

Copyright (c) 2000, 2016, Oracle and/or its affiliates. All rights reserved.

Oracle is a registered trademark of Oracle Corporation and/or its
affiliates. Other names may be trademarks of their respective
owners.

Type 'help;' or '\h' for help. Type '\c' to clear the current input statement.

mysql> create database zabbixdb character set utf8 collate utf8_bin;
Query OK, 1 row affected (0.08 sec)

mysql> grant all privileges on zabbixdb.* to zabbixuser@localhost identified by 'Password';
Query OK, 0 rows affected, 1 warning (0.06 sec)

mysql> flush privileges;
Query OK, 0 rows affected (0.00 sec)

mysql> quit
Bye

root@zabbix:~#
– After creating the zabbix database and user we need to import the zabbix initial database using the below commands
root@zabbix:~# cd /usr/share/doc/zabbix-server-mysql/
root@zabbix:/usr/share/doc/zabbix-server-mysql# zcat create.sql.gz | mysql -u root -p zabbixdb
– Now we need to edit database configuration in in zabbix_server.conf file
[root@zabbix ~]# vi /etc/zabbix/zabbix_server.conf
– Specify the zabbix database name, zabbix user name and the password
DBHost=localhost
DBName=zabbixdb
DBUser=zabbixuser
DBPassword=Password
– After importing the zabbix database we need to enable and start zabbix-server service and zabbix-agent service on boot using the bellow commands:
[root@zabbix ~]# systemctl enable zabbix-server
[root@zabbix ~]# systemctl start zabbix-server
[root@zabbix ~]# systemctl enable zabbix-agent
[root@zabbix ~]# systemctl start zabbix-agent
Step 5 – Configure Zabbix via Web console
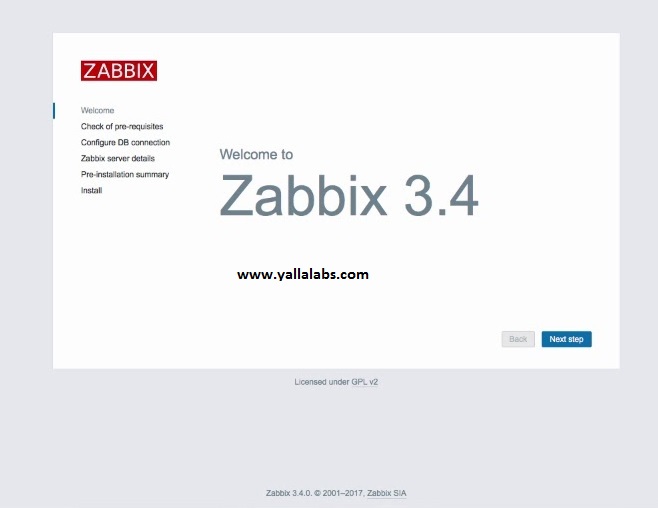
– Navigate to http://ip_address/zabbix or http://host_name/zabbix
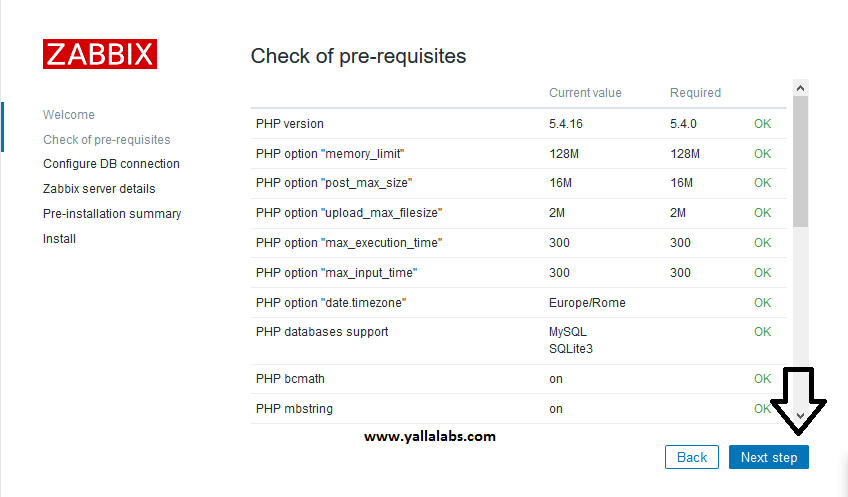
– Make sure that all software prerequisites are met.
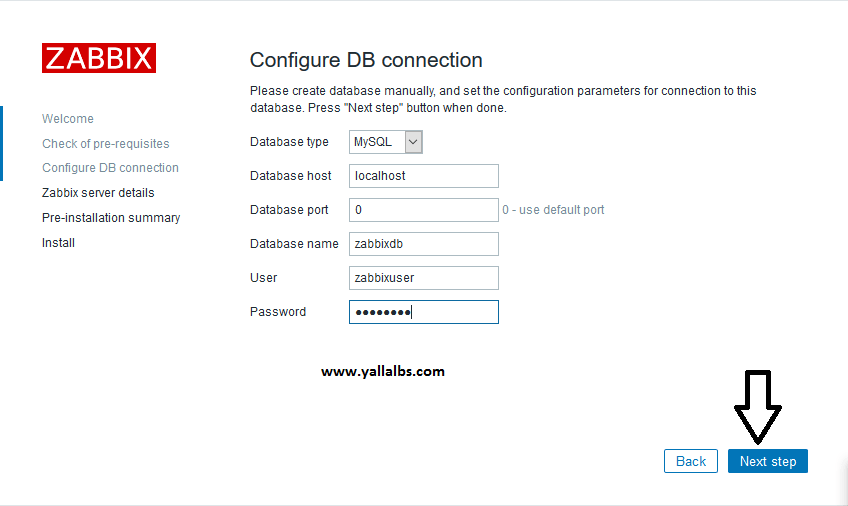
– Enter details for connecting to the database. Zabbix database must already be created.
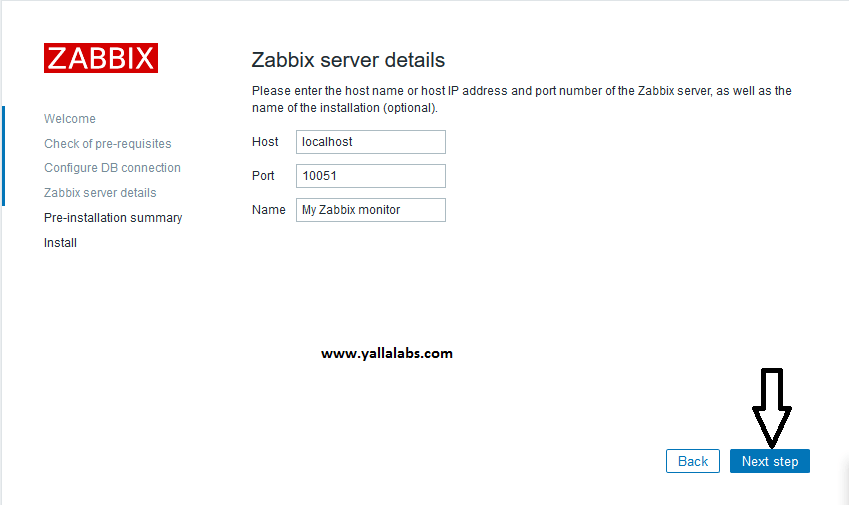
– Enter Zabbix server details.
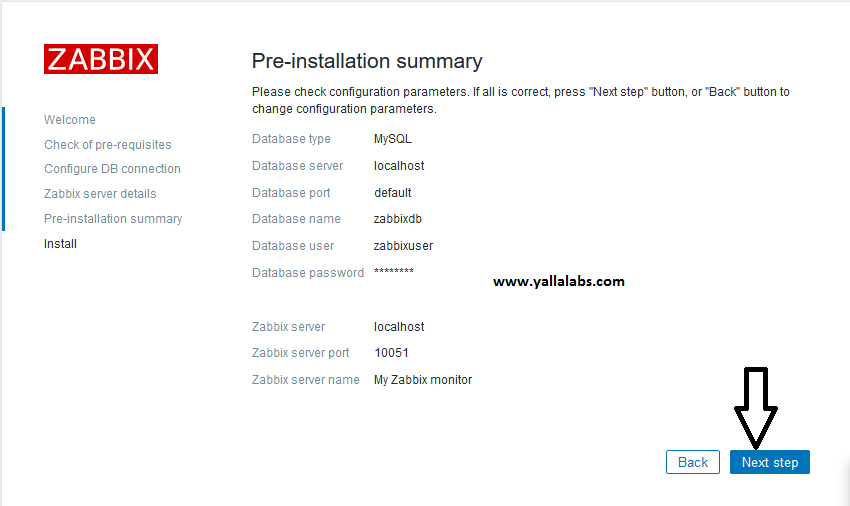
– Review a summary of settings.
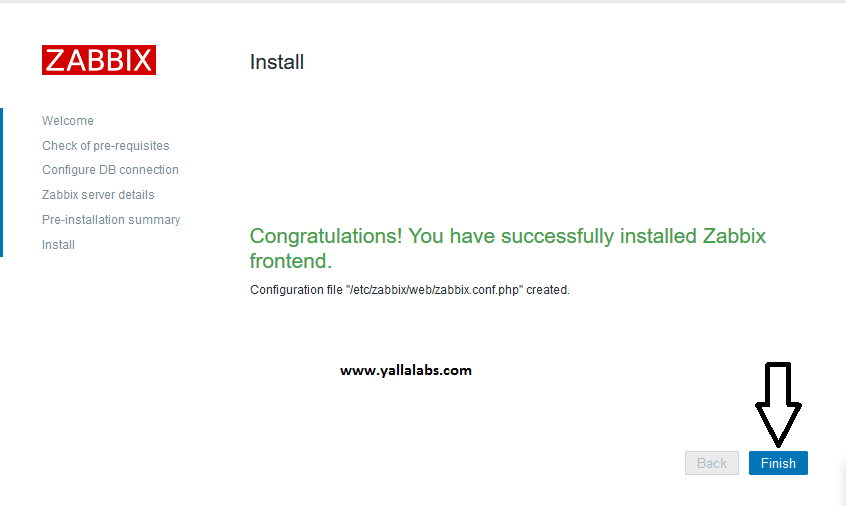
– Finish the installation.
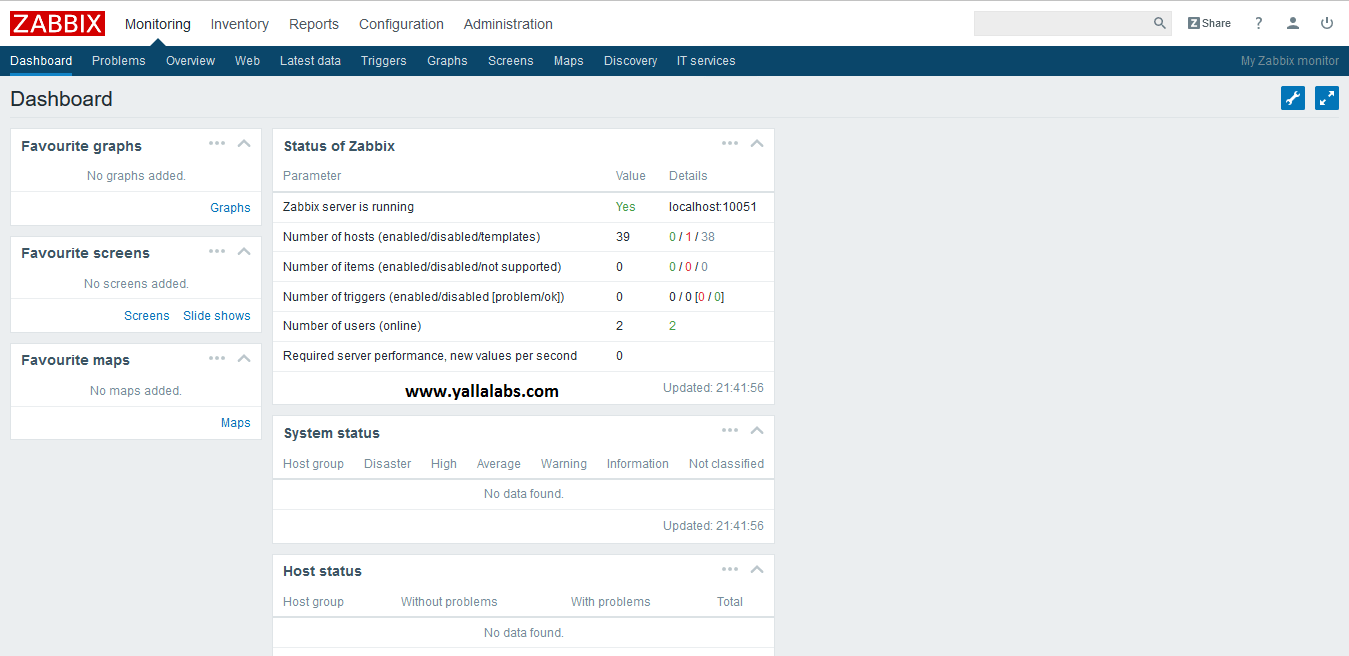
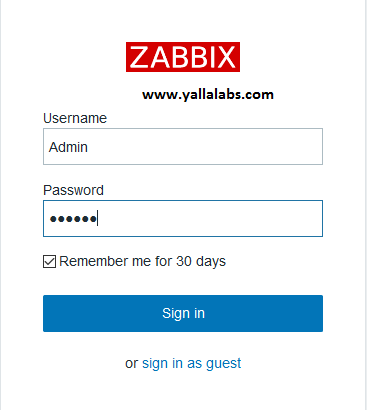
– Now you’ll be redirected to the zabbix web console page. The default user name is Admin and the password is zabbix .
Last thing to do is to enable your server zabbix to be monitored: go to Configuration -> Hosts. Select the host (zabbix server) and click “Disabled”

We hope this tutorial was enough Helpful. If you need more information, or have any questions, just comment below and we will be glad to assist you!
PS. If you like this post please share it with your friends on the social networks using the buttons below.Thanks.

19 comments
Thank you very much
Hi Ethan,
You are welcome anytime, subscribe to our Youtube Channel to keep updated
Am I the only person having trouble on the database creation step (zcat create.sql.gz | mysql -u root -p zabbixdb)? The system hangs and you have to crtl+C, which returns:
^C^C — query aborted
ERROR 1317 (70100) at line 1723: Query execution was interrupted
I’m following your instructions to the letter on a fresh install of Ubuntu 16.04.3 LTS and no luck.
Hi Jacques Laroche,
It’s really strange that your server hangs while, try again …
Great guide, worked like a charm, thank you! 🙂
Hi Christian
We are glad that u find our article helpful. Subscribe on our YouTube channel
Hi I’ve gone through the guide 3 times now and I continue to get stuck ” Enter details for connecting to the database. Zabbix database must already be created.” section Configure DB Connection. I do Step 3 exactly the way it’s stated but continue to get “Cannot connect to the database” “System error occurred. Please contact Zabbix administrator.” not sure what I’m doing wrong a little help would be great! Thx.
Hi Scott,
The error occured because you didn’t create the zabbix database and import the schema, run show databases query to verify if the database exists, use the zabbix user to connect to zabbix database to check if the permission are correct. Obviously insert the correct database parameters connection ( name zabbix db, zabbix user db, password …) in the zabbix_server.conf file .If you continue having problem we can assist you Teamviewer
Hi Lotfi, I would welcome some assistance as I keep going round and round. I have created the database and imported the schema, it says the database zabbixdb does exist and I have updated the zabbix_server.conf file as mentioned above. Is there a good time that would work to connect through Teamviewer? Thank you.
Okay, Send us the credentials ID and password via the contact form
Perfect ! Congratulations !!
Hi Francisco,
Subscribe on our Youtube Channel to keep updated. Thanks in advance .
Hi Works Perfect, thanks ..
Hi Ricardo,
We glad that you find the tutorial helpful. Please subscribe to our YouTube channel to keep updated . Thanks
Hi Sir.
Thanks …great tutorial.
Do you know how to monitor openstack using zabbix. Using Zabbix do i need to install agent on each node that i need to monitor?
Thanks
Hi DZ,
check this link https://github.com/cloudowski/zabbix-openstack
Hi. Your tip is so good for everyone. Thank you.
And I’ve Question. Would you please help me?
My zabbix-server is not installed at STEP5.
When I was entered “http://zabbix-server ip/zabbix”, it said ‘Forbidden’ , “You don’t have permission to access /zabbix/ on this server.”
I don’t know what can I do to. I found and read many is issue, but I don’t solved yet..
My server is installed ‘Ubuntu 16.04.1 LTS \n \l, PHP 7.0.32-0ubuntu0.16.04.1 (cli) ( NTS )’.
Would you please help me?
Hi JK,
Make sure that Apache is up and running .
Thank.
yOu.
so much