WordPress is a free and open-source content management system (CMS) based on PHP and MySQL.
In this guide tutorial, we are going to show you how to install WordPress with LAMP Stack (Linux, Apache, MySQL, PHP 7) on Ubuntu 16.04 LTS
Step 0. Update the system
– Make sure to update the system before starting
# apt-get update
# apt-get upgrade
Step 1. Create a Database and User for WordPress
# mysql -u root -p
– Create the database and the WordPress user using the following commands
mysql> CREATE DATABASE wordpress DEFAULT CHARACTER SET utf8 COLLATE utf8_unicode_ci;

mysql> GRANT ALL ON wordpress.* TO 'wordpressuser'@'localhost' IDENTIFIED BY 'password';

mysql> FLUSH PRIVILEGES;
mysql> EXIT
Step 2. Install Additional PHP Extensions
# sudo apt-get install php7.0-curl php7.0-gd php-mbstring php7.0-mcrypt php7.0-xml php7.0-xmlrpc
– Restart Apache
# systemctl restart apache2
Step 3. Download WordPress
# cd /tmp
# curl -O https://wordpress.org/latest.tar.gz
# tar xzvf latest.tar.gz
Step 4. Adjust Directory Permissions
– create the website directory for the wordpress
# mkdir -p /var/www/yallalabs.local/public_html
# sudo cp -a /tmp/wordpress/* /var/www/yallalabs.local/public_html
#
– Adjust the wordpress directory permissions
# sudo chown -R www-data:www-data /var/www/yallalabs.local/public_html
# sudo find /var/www/yallalabs.local/public_html -type d -exec chmod 755 {} \;
# sudo find /var/www/yallalabs.local/public_html -type f -exec chmod 644 {} \;
Step 5. Configure WordPress
– Copy the sample configuration file, open it and add the database connection settings like bellow:
# cd /var/www/yallalabs.local/public_html/
# sudo mv wp-config-sample.php wp-config.php
# vi wp-config.php
– Modify the database connection settings with yours
// ** MySQL settings - You can get this info from your web host ** //
/** The name of the database for WordPress */
define('DB_NAME', 'wordpress');

/** MySQL database username */
define('DB_USER', 'wordpressuser');

/** MySQL database password */
define('DB_PASSWORD', 'password');

/** MySQL hostname */
define('DB_HOST', 'localhost');

/** Database Charset to use in creating database tables. */
define('DB_CHARSET', 'utf8');

/** The Database Collate type. Don't change this if in doubt. */
define('DB_COLLATE', '');
– Add at the end of the file this code to allow the direct upload for wordpress
define('FS_METHOD', 'direct');
– Save and exit
Step 6. Create Apache Virtual Host File
– Create a new virtual host file configuration
# vi /etc/apache2/sites-available/yallalabs.local.conf
– Copy the following code and change documentroot and servername with yours
 <VirtualHost *:80>
    DocumentRoot /var/www/yallalabs.local/public_html
    ServerName www.yallalabs.local
    #ErrorLog /var/log/yallalabs-error.log
    <Directory "/var/www/yallalabs.local/public_html">
        RewriteEngine On
        RewriteBase /
        RewriteRule ^index\.php$ - [L]
        RewriteCond %{REQUEST_FILENAME} !-f
        RewriteCond %{REQUEST_FILENAME} !-d
        RewriteRule . /index.php [L]
   <files wp-config.php>
      order allow,deny
      deny from all
   </files>
 </Directory>
 <Directory "yallalabs.local/public_html/wp-content/uploads/">
    <Files "*.php">
      Order Deny,Allow
      Deny from All
    </Files>
 </Directory>
</VirtualHost>
– Enable mod_rewrite module so that you can utilize the WordPress permalink feature
# a2enmod rewrite
# systemctl restart apache2
– Enable the virtual host using the following command
# a2ensite yallalabs.local.conf
# systemctl reload apache2
Step 6: Complete the Installation Through the Web Interface
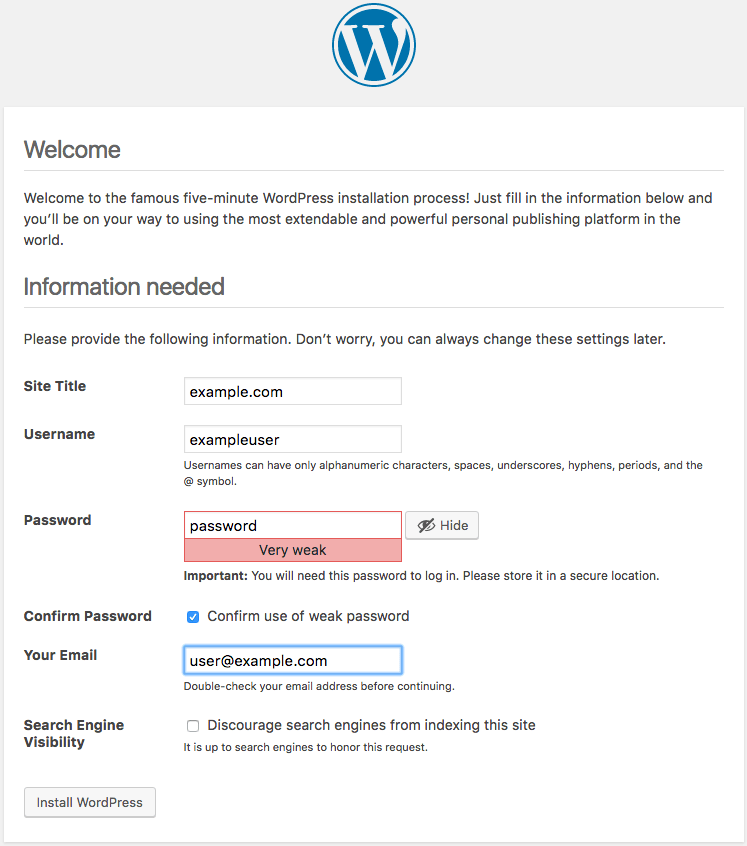
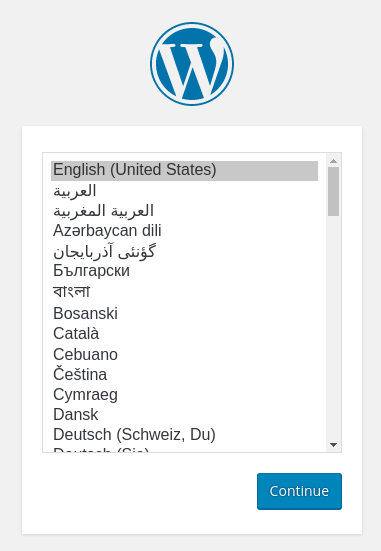
After we have configured the Apache virtual host, we can complete the installation through the web interface. Open the web browser, navigate to the server’s domain name or the IP address:
http://server_domain_name
– Insert a name for your WordPress site, a username for login and strong password

We hope this tutorial was enough Helpful. If you need more information, or have any questions, just comment below and we will be glad to assist you!


