
Graylog is an open source log management software that can be used to easily collect, index, and analyze remote system logs centrally .
Graylog is built with three components:
Elasticsearch : Receives and stores the logs from the Graylog server and offers a search facility.
MongoDB : Database to store configuration and meta information.
Graylog Server : Receives and parses the logs coming from various inputs and provides a web interface to manage those logs.
In this tutorial, we will learn how to install and configure the Graylog server on CentOS 7/RHEL 7
0./ Prerequisites
– To install graylog, we will need to install those additional packages:
[root@server ~]# sudo yum install java-1.8.0-openjdk-headless.x86_64 -y
[root@server ~]# sudo yum install epel-release -y
[root@server ~]# sudo yum install pwgen -y
1./ Install MongoDB
– MongoDB is not available in the default CentOS repository. You will need to add the MongoDB repo first. To do so,you have to create the file mongodb-org-3.2.repo under /etc/yum.repos.d/ directory using the following commands:
[root@server ~]# vi /etc/yum.repos.d/mongodb-org-3.2.repo
– Add the following contents:
[mongodb-org-3.2]
name=MongoDB Repository
baseurl=https://repo.mongodb.org/yum/redhat/$releasever/mongodb-org/3.2/x86_64/
gpgcheck=1
enabled=1
gpgkey=https://www.mongodb.org/static/pgp/server-3.2.asc
– Install MongoDB by running the following command:
[root@server ~]# sudo yum install mongodb-org -y
– Start the MongoDB service and enable it to start on boot with the following command:
[root@server ~]# sudo chkconfig --add mongod
[root@server ~]# sudo systemctl daemon-reload
[root@server ~]# sudo systemctl enable mongod.service
[root@server ~]# sudo systemctl start mongod.service
2./ Install and Configure Elasticsearch
– To install Elasticsearch, we have to Import the GPG key using the following command:
rpm --import https://packages.elastic.co/GPG-KEY-elasticsearch
– Elasticsearch is not available in the default CentOS repositories. You will need to create a repo for it using the following command:
[root@server ~]# vi /etc/yum.repos.d/elasticsearch.repo
– Add the following contents:
[elasticsearch-2.x]
name=Elasticsearch repository for 2.x packages
baseurl=https://packages.elastic.co/elasticsearch/2.x/centos
gpgcheck=1
gpgkey=https://packages.elastic.co/GPG-KEY-elasticsearch
enabled=1
– Now, install Elasticsearch using the follwing command:
[root@server ~]# sudo yum install elasticsearch -y
– Open Elasticsearch configuration file (/etc/elasticsearch/elasticsearch.yml) and set the cluster name to graylog:
[root@server ~]# vi /etc/elasticsearch/elasticsearch.yml

cluster.name: graylog
– After you have modified the configuration, you can start Elasticsearch:
[root@server ~]# sudo chkconfig --add elasticsearch
[root@server ~]# sudo systemctl daemon-reload
[root@server ~]# sudo systemctl enable elasticsearch.service
[root@server ~]# sudo systemctl restart elasticsearch.service
– Check the health of the Elasticsearch with the following command:
[root@server ~]# curl -XGET 'http://localhost:9200/_cluster/health?pretty=true'
{
"cluster_name" : "graylog",
"status" : "green",
"timed_out" : false,
"number_of_nodes" : 1,
"number_of_data_nodes" : 1,
"active_primary_shards" : 1,
"active_shards" : 1,
"relocating_shards" : 0,
"initializing_shards" : 0,
"unassigned_shards" : 0,
"delayed_unassigned_shards" : 0,
"number_of_pending_tasks" : 0,
"number_of_in_flight_fetch" : 0,
"task_max_waiting_in_queue_millis" : 0,
"active_shards_percent_as_number" : 100.0
}
3./ Install and Configure Graylog
– We need to download and install the Graylog repository using the following command:
[root@server ~]# sudo rpm -Uvh https://packages.graylog2.org/repo/packages/graylog-2.2-repository_latest.rpm
– Install the Graylog server with the following command:
[root@server ~]# sudo yum install graylog-server -y
– After you have installed the Graylog Server, you have to generate secret key for Graylog using the following command:
[root@server ~]# pwgen -N 1 -s 96
MTtPFSMZxAvoLsUiXXauggyJ761hwkGn1ZTN2ovb8wN2tO1LzyeNbaatOrpLukp96p0MxwHQosmMGPborm1YRojnnSORVvr2
– Now create a hash password for the root user that can be used to log in to the Graylog web serverusing the following command:
[root@server ~]# echo -n Password | sha256sum
e7cf3ef4f17c3999a94f2c6f612e8a888e5b1026878e4e19398b23bd38ec221a
– Edit the server.conf file:
[root@server ~]# sudo vi /etc/graylog/server/server.conf
– Make changes to the file as shown below:
password_secret= MTtPFSMZxAvoLsUiXXauggyJ761hwkGn1ZTN2ovb8wN2tO1LzyeNbaatOrpLukp96p0MxwHQosmMGPborm1YRojnnSORVvr2
root_password_sha2= e7cf3ef4f17c3999a94f2c6f612e8a888e5b1026878e4e19398b23bd38ec221a
[email protected]
root_timezone=UTC
elasticsearch_discovery_zen_ping_unicast_hosts = 192.168.1.200:9300
elasticsearch_shards=1
script.inline: false
script.indexed: false
script.file: false
– To enable the Graylog web interface, make changes to the file as shown below:
rest_listen_uri = http://192.168.1.200:12900/
web_listen_uri = http://192.168.1.200:9000/
-After you have modified the configuration file, you can start Graylog Service using the following commands:
[root@server ~]# sudo chkconfig --add graylog-server
[root@server ~]# sudo systemctl daemon-reload
[root@server ~]# sudo systemctl enable graylog-server.service
[root@server ~]# sudo systemctl start graylog-server.service
4./ Adjusting Firewall and Selinux
You will need to set firewall rules for Graylog to work properly.
You can do this by running the following commands:
[root@server ~]# sudo firewall-cmd --permanent --zone=public --add-port=9000/tcp
[root@server ~]# sudo firewall-cmd --permanent --zone=public --add-port=12900/tcp
[root@server ~]# sudo firewall-cmd --permanent --zone=public --add-port=1514/tcp
– Next, reload firewalld with the following command:
[root@server ~]# sudo firewall-cmd --reload
– To manage SELinux, you have to install policycoreutils-python package using the following command:
[root@server ~]# sudo yum install policycoreutils-python -y
– Allow the web server to access the network:
[root@server ~]# sudo setsebool -P httpd_can_network_connect 1
– Allow the Graylog REST API and web interface:
[root@server ~]# sudo semanage port -a -t http_port_t -p tcp 9000
– Allow the Elasticsearch HTTP API:
[root@server ~]# sudo semanage port -a -t http_port_t -p tcp 9200
– Allow MongoDB default port:
[root@server ~]# sudo semanage port -a -t mongod_port_t -p tcp 27017
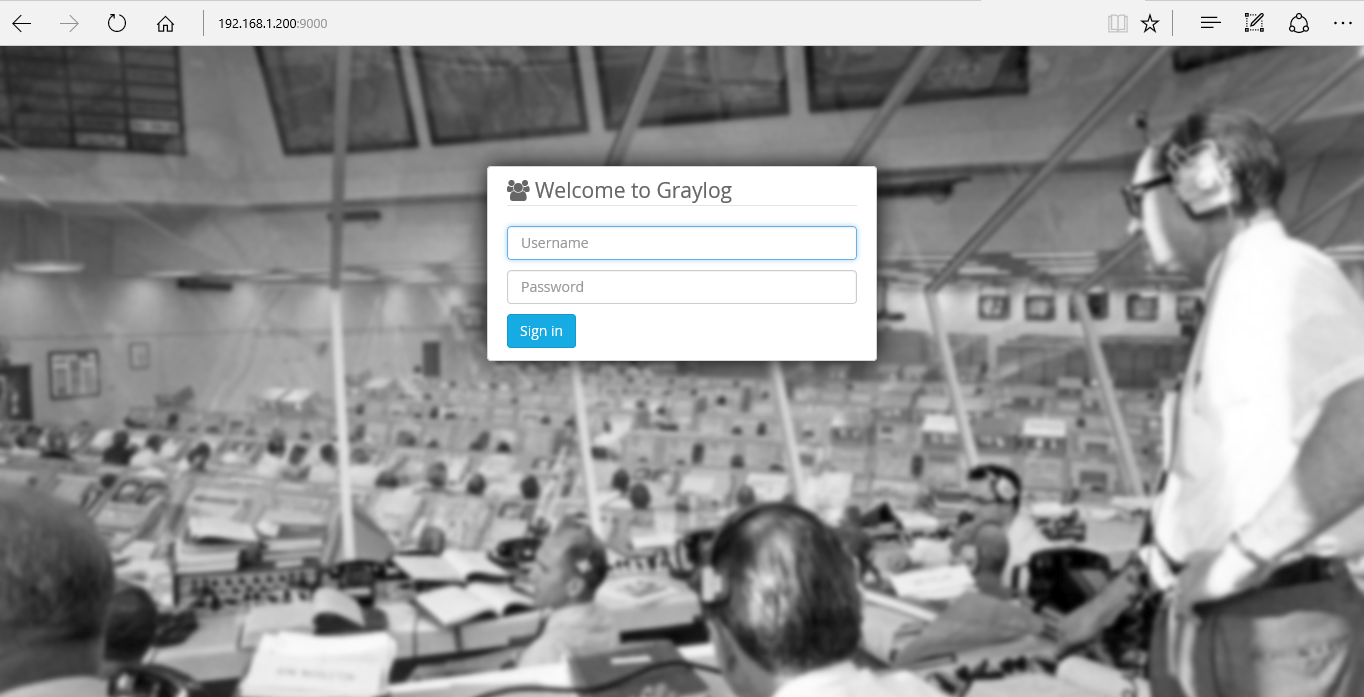
5./ Access the Graylog web interface
Open your web browser and type the URL http://your_ip_address:9000. You should see the following Page:
We hope this tutorial was enough Helpful. If you need more information, or have any questions, just comment below and we will be glad to assist you!

6 comments
Great Article…
I want to do the same setup in RHEL 7. And if i dont have access to the particular repos for elasticsearch and mongodb, what is the alternative for that. Do we have any option to install graylog server from source? It would be great if you explain the procedure through source installation than yum.
Hi Lakshmi Dhandapani,
Thanks for the comment, yes of course you can install Graylog server from source, we will explain the procedure soon. Keep in touch subscribing in our youtube channel https://www.youtube.com/channel/UC2-O3cFV_KGHydYUnxpia7A
Hello , your sharing is very usefull , Thank you . my login page came , but I can’t login . At server.conf , there is user and password (made by pwgen ) , is there a default user/password ? How can login in it ?
Hi Nihal,
The username login by default is “admin” and if u followed all the steps the password should “Password” that has been configured with the following command
# echo -n Your_Password | sha256sum
If you have any issues, we will be glad to assist you.
Hi i tried same keys but it is not working
Hi,
Could you please explain what doesn’t work exactly.