Webmin is an Open Source server control panel for easy Linux System Administration. With the help of Webmin, you can manage Users, groups, FTP, DNS, DHCP, SSH, Email, and many other packages according to your needs. In this tutorial, we will show you how to install Webmin on CentOS 8 server.
1/ Install Webmin on Centos 8
01- First, let’s add the Webmin repository by running the below command:
$ cat </etc/yum.repos.d/webmin.repo [Webmin] name=Webmin Distribution Neutral #baseurl=https://download.webmin.com/download/yum mirrorlist=https://download.webmin.com/download/yum/mirrorlist enabled=1 EOF
02- Import the Webmin GPG key using the following rpm command:
$ sudo rpm --import http://www.webmin.com/jcameron-key.asc
03- Install the latest version of Webmin by typing:
$ sudo dnf install webmin
The command automatically resolves all dependencies. Once the installation finishes, the following output is displayed:
Webmin install complete. You can now login to https://your_server_ip_or_hostname:10000/
as root with your root password.
04- To be able to access the Webmin interface from a web browser, so run the following commands to allow traffic on port 10000:
$ sudo firewall-cmd --zone=public --permanent --add-port=10000/tcp
$ sudo firewall-cmd --reload
2/ Access Webmin Web Interface
Now that Webmin is installed on your CentOS server open your favorite browser and type your server’s hostname name or public IP address followed by the Webmin port 10000: https://your_server_ip_or_hostname:10000/
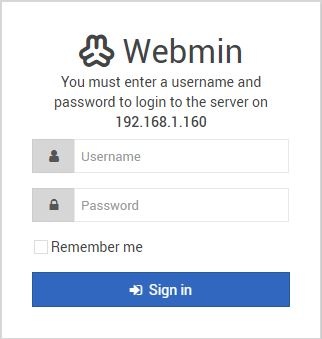
Login to the Webmin web interface using your root user credentials:

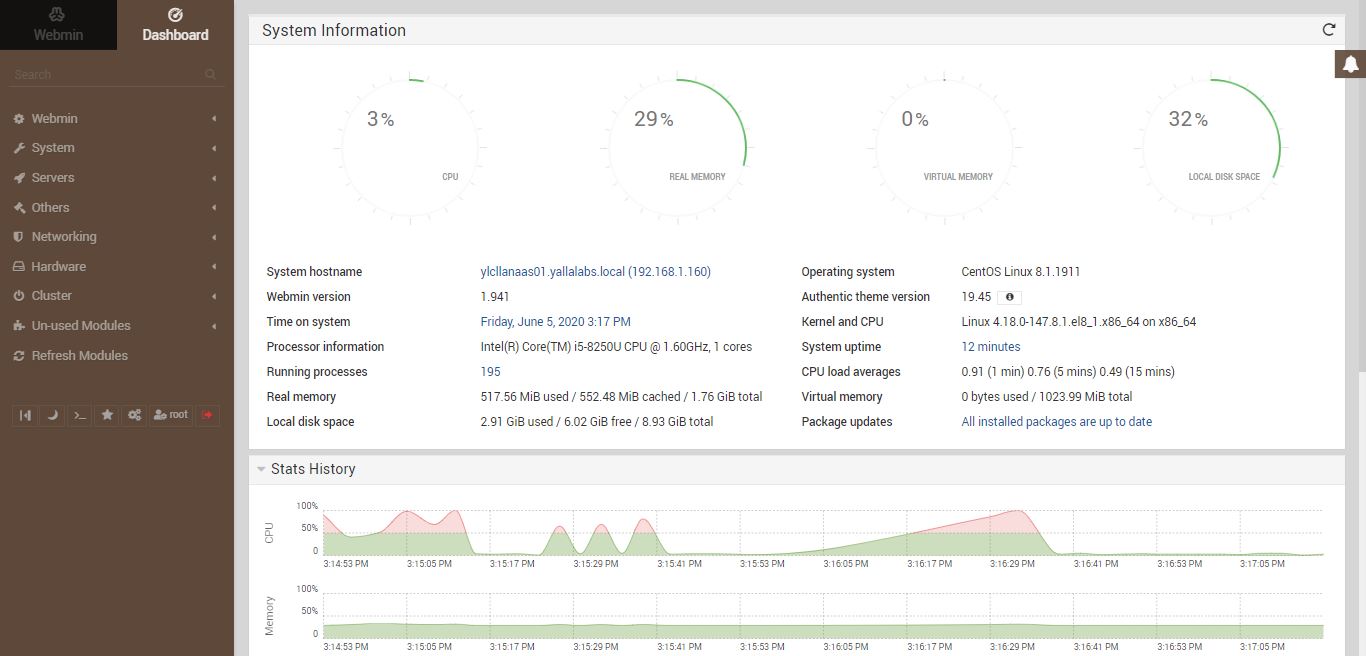
Once you log in, you will be redirected to the Webmin dashboard, which provides basic information about your system as below:

Conclusion
You have successfully installed Webmin on your CentOS 8 server. From here, you can start configuring and managing your CentOS 8 server.
You might want to check the following guides:


